

Installation of the hardware
The easiest way is to put a complete computer with case into the cabinet, of cause. Because i need a lot of space for the unused control panels, this was no option for me. So i threw away most parts of the case and used only the cd- and harddisk mounting plates.

First, i mounted the DVD-drive. For easy access, i made a openeing of the size of two cd-drives into the front plate. I dismounted the steel sheets by carefully drilling through the rivets.
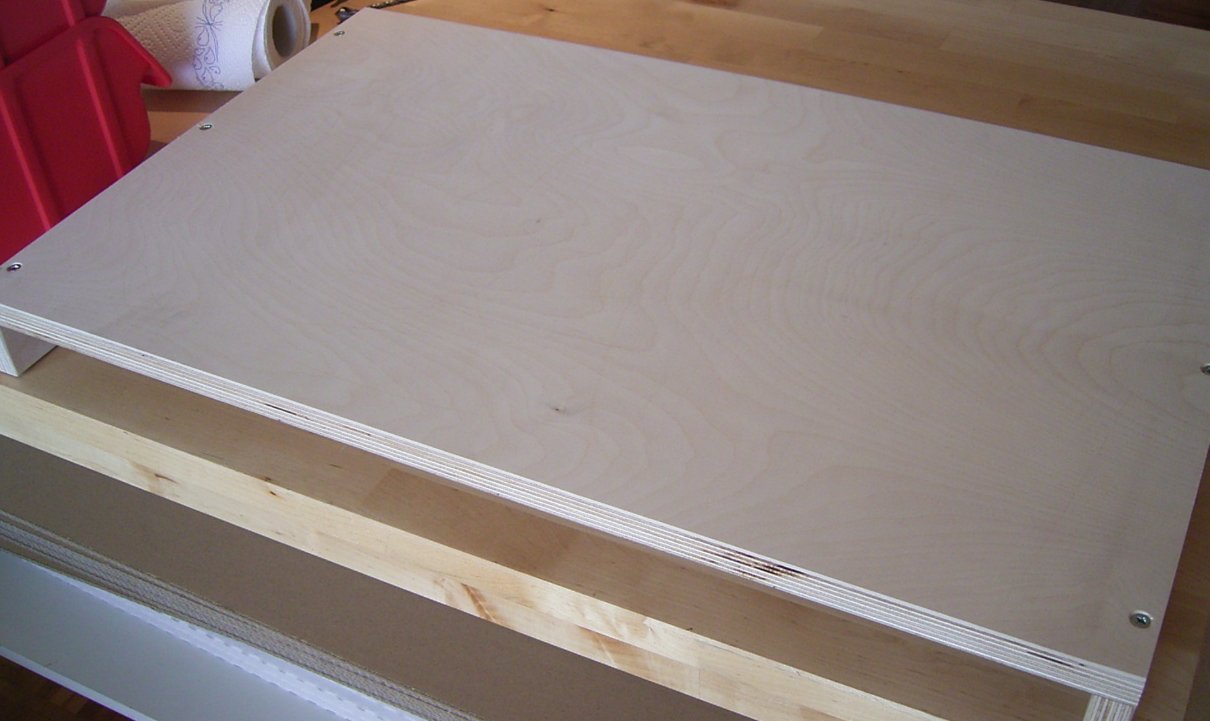
I fixed the mainboard, harddrive and power supply on the mounting plate, which i attached to the cabinet using wood screws. By dismounting the mounting plate i can easily reach all parts.

The hard disk is mounted to the cage from the PC-case, so i can add additional hard disks if i need more space. The mainboard is screwed to the mounitg plate circuit board feet.

All Parts of the hardware are fixed on the mounting plate. Power supply and cables are still missing. Graphics-, network- and soundcard are only hold by their sockets. This is not the ideal solution, but as long as i don't pull on the cables everything is ok.
Next i add the main switch.
Warning: Undefined variable $PHP_SELF in /www/htdocs/w0074465/assembling-4.htm on line 55
Comments
Fatal error: Uncaught Error: Call to undefined function mysql_connect() in /www/htdocs/w0074465/comm/comments.php:30 Stack trace: #0 /www/htdocs/w0074465/assembling-4.htm(55): include() #1 {main} thrown in /www/htdocs/w0074465/comm/comments.php on line 30